Notice: This guide is for Domain Broker V1 (available before July 29, 2013).
View the 1.3 Setup Video Here. To upgrade to Domain Broker V1.3, log in to your Themeforest account. If you're looking for the latest version of Domain Broker, check out Domain Broker 2.
If you're either not familiar with HTML or have little experience with web sites, this is the guide for you. We'll cover how to get Domain Broker running from beginning to end. Feel free to skip any sections that are marked as optional.
Included in your download is two versions of the theme. The first version is in the Web Files folder. This version includes everything except the Captcha spam prevention. As a result, this version is a bit easier to install. The second version is in the Web Files with Captcha folder. This version has Captcha spam prevention built in. Which version to choose? Depends on if you have trouble with spam. If you have a good spam filter you'll be safe with the first version.
First thing, you'll need a good text editor or WYSIWYG tool. I recommend Dreamweaver, since it handles the whole process including uploading seamlessly, and is easy to learn compared to some others. Plus, it works on both Windows and Mac OSX. If paying for Dreamweaver isn't an option, you can pick up Notepad++ for free on Windows or TextWrangler on OSX then upload with FileZilla. This tutorial will focus on editing with Dreamweaver.
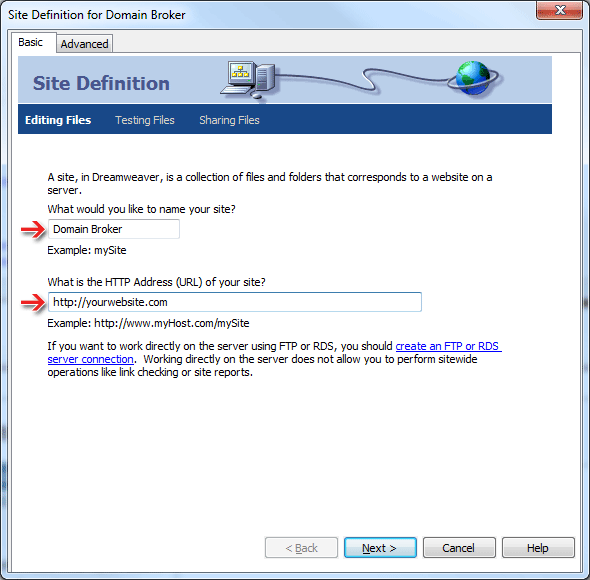
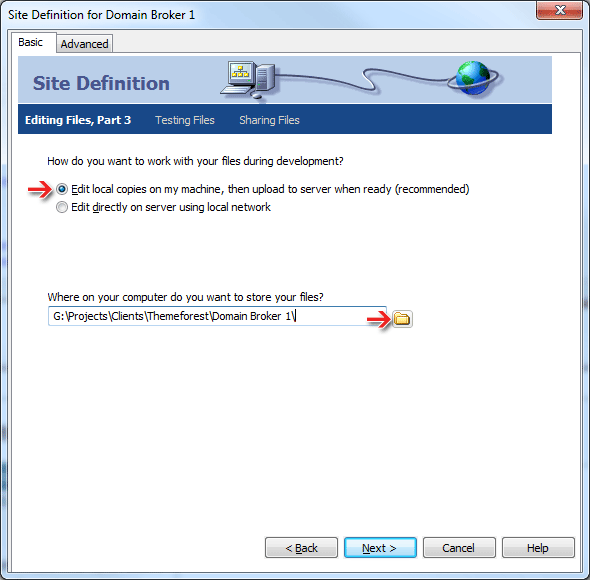
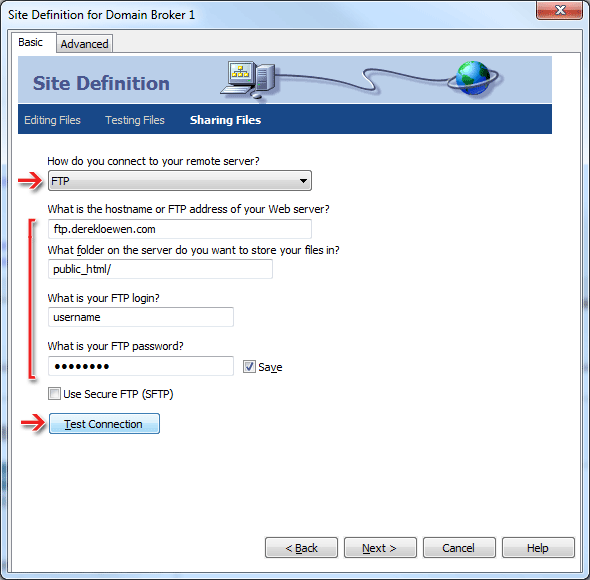
Begin by opening Dreamweaver and setting up the Site by navigating to the Site menu and choosing "New Site". The wizard that pops up will go through all the steps.
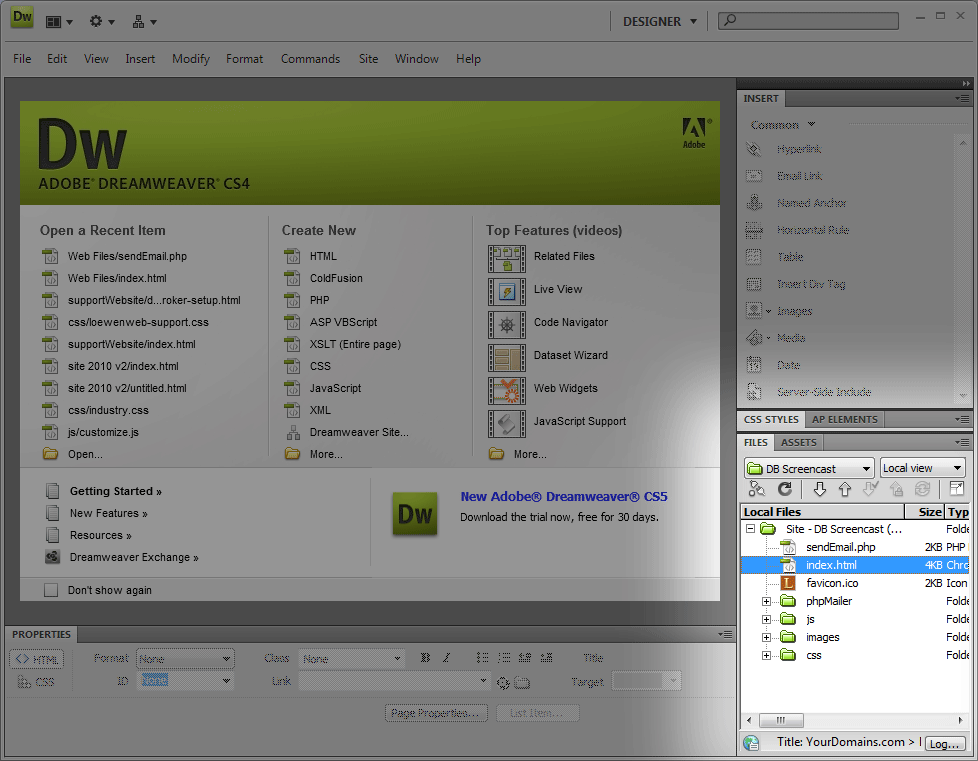
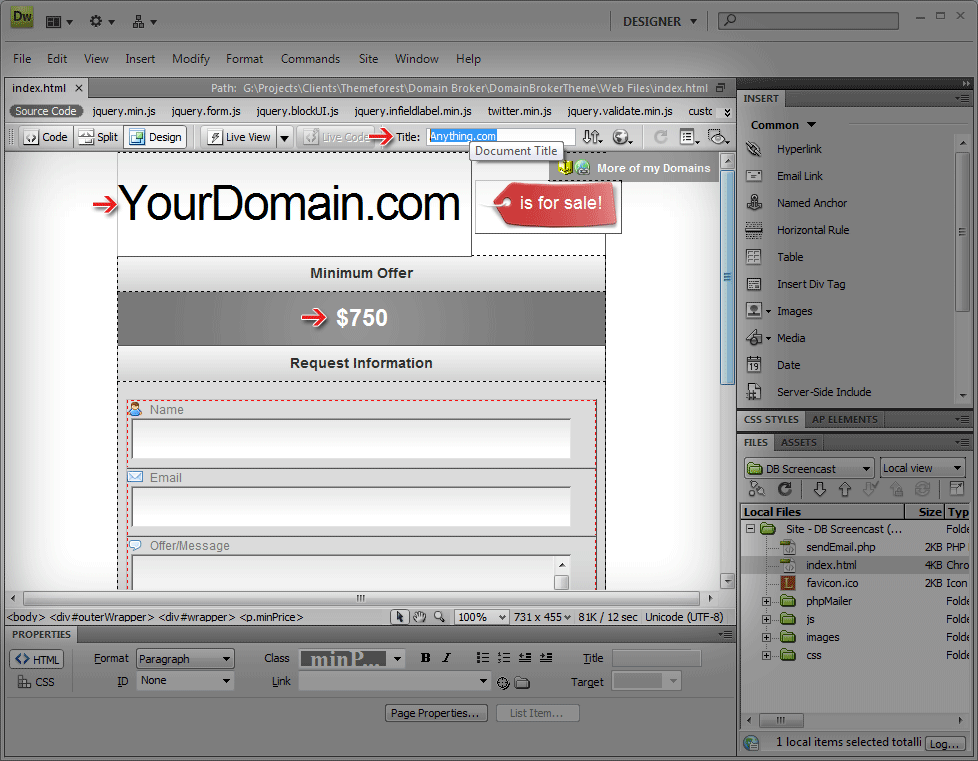
Now that the Site is set up, you'll see a folder in the "Files" panel. You'll be able to open and upload files from here. Expand that folder and open the index.html file by double clicking.
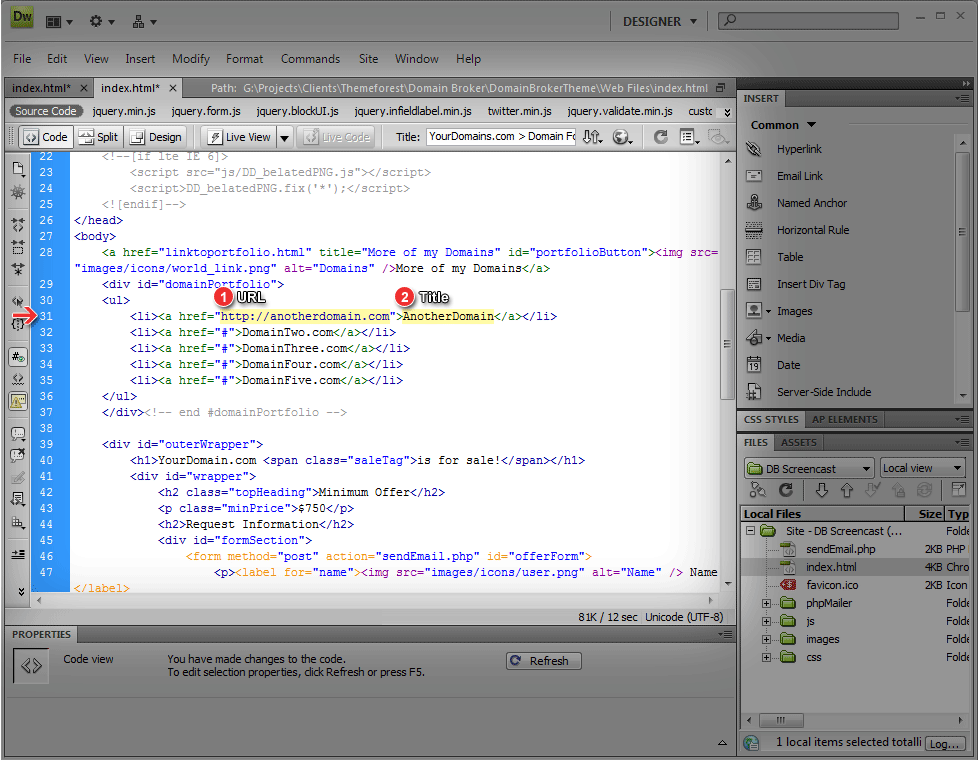
For this one we'll edit some markup. Switch to "Source" view and find line 31. Each of those 5 lines is one domain in the bar. To add domains, replace the existing placeholders with the URL and Title of the domain. Delete or add lines as necessary.
To remove the bar, delete lines 28 to 37.
sendEmail.php in the "Files" panel.Note: It's important to keep the single quotes around the values you enter. Without them it will not work.

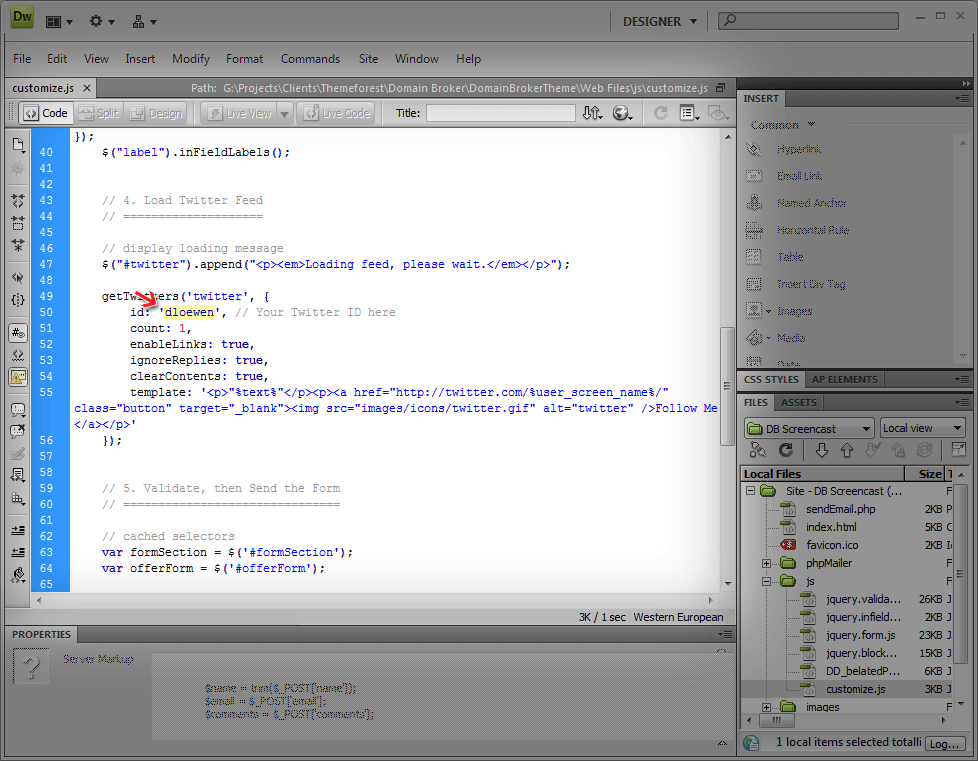
customize.jsNote: You must have at least 1 tweet in your account for this section to work.
If you don't want the twitter section, feel free to delete the following code in the index.html file:
<div class="section" id="twitter">
   <noscript>
		<p>
			<a href="http://twitter.com/dloewen" title="Domain Tweets" class="button">Follow me on Twitter</a>
		</p>
	</noscript>
</div><!-- end .section -->
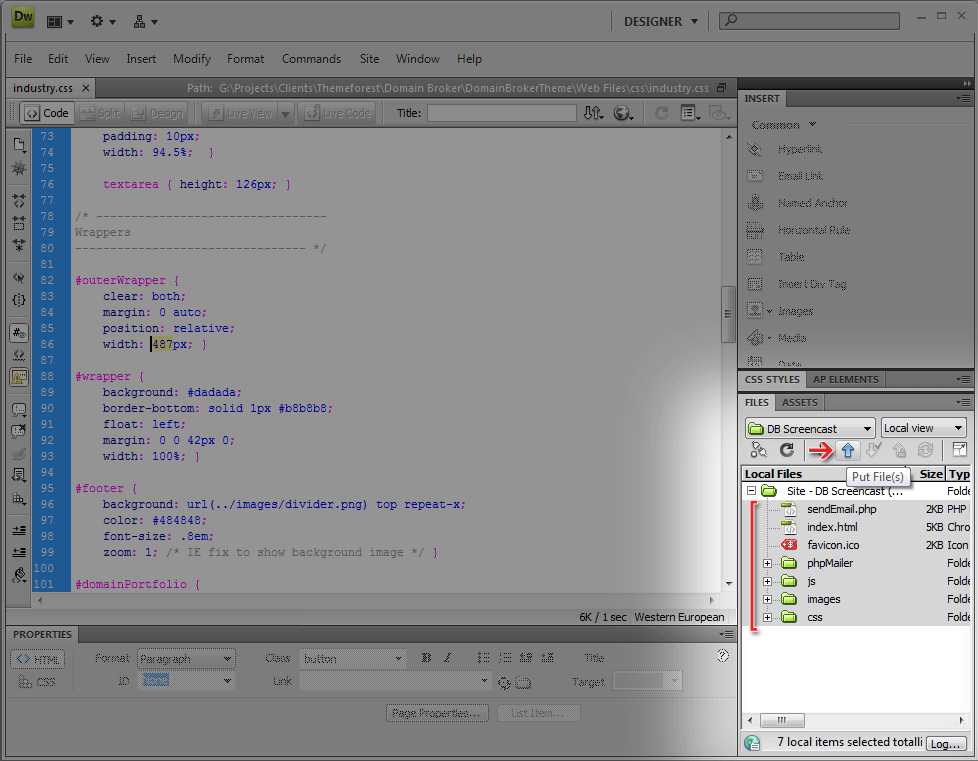
If your domain name is long you can increase the width by in the CSS file.
1. Open the "css" folder and open industry.css
2. Scroll to line 86 and edit the width value.
If you've chosen the "...With Captcha" version, there are a two places you'll need to enter ReCaptcha keys.
index.php and go to line 58 (this may be different for you, confirm by checking out the screen below). Then paste your public key inbetween the quotes.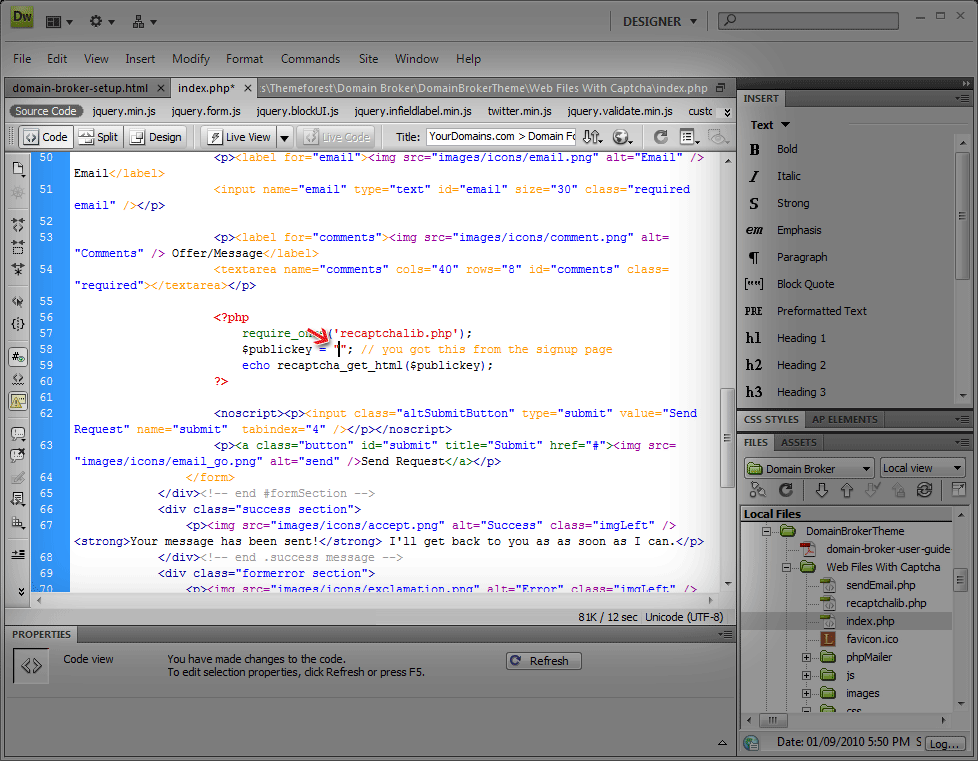
sendEmail.php and paste your Private Key inbetween the quotes on line 4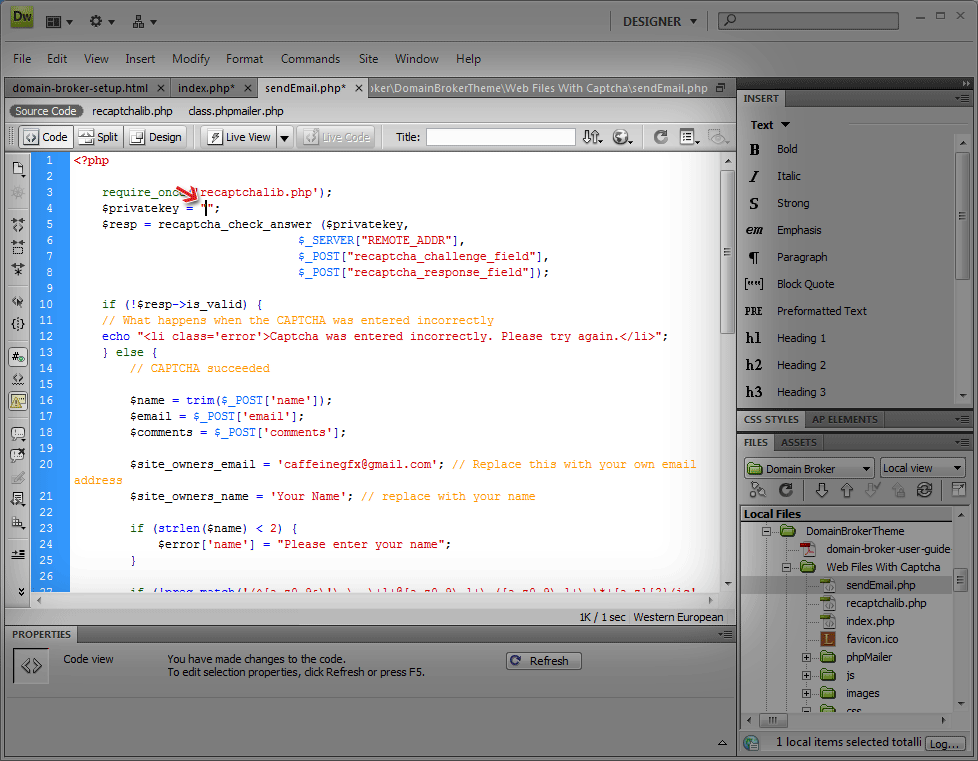
Now you're ready to upload to the web! In the files panel, select all the files inside your site folder and click the "Put File(s)" button.
Now browse to your domain and check it out!
If it's not appearing check a couple things:
Thanks again for purchasing Domain Broker! I hope you've found this tutorial helpful. If anything isn't clear be sure to email me at .
Derek Loewen